

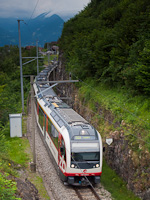
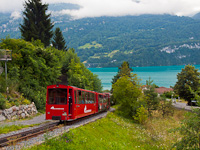
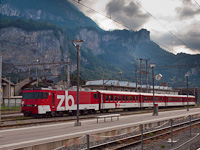
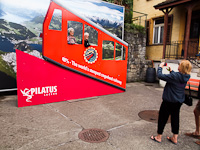
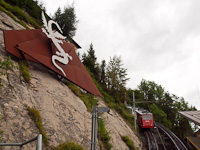
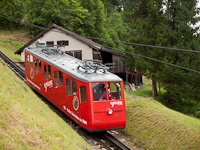
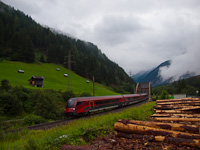
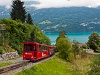
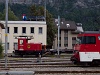
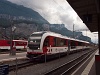
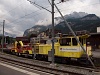
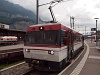
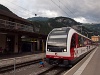
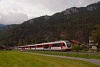
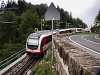
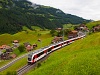
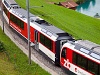
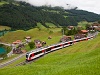
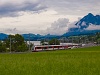
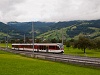
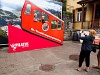
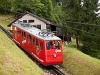
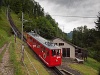
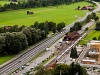
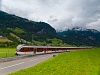
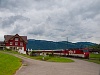
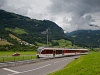
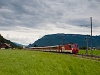
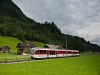
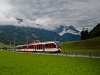
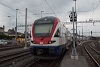
Luzern-Interlaken-Express
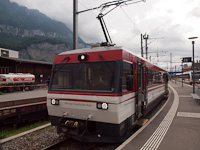
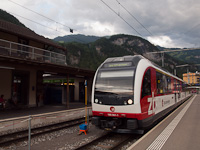
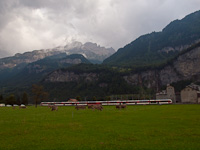
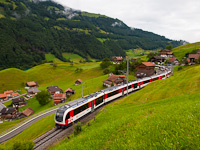
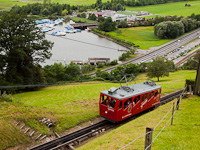
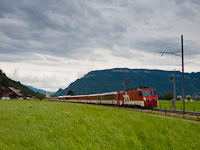
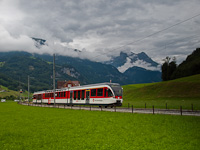
Locomotive classes: HGe 4/4 II, ABt8, RABe 511, 80-90
![]()
![]()
![]()
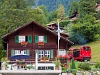
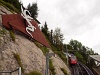
Triglav - Steam locomotive at Kemence
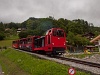
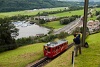
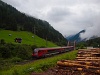
Steam locomotive in the Hron valley
The most popular locomotive classes:
8005 430 431 240 v.356 408 193 471 1016 1116 8055 UV MUV Mk48 475 117
H
CH
A
FIN
D
UA
SK
CZ
AL
SRB
MNE
RO
RU
BiH CRO SLO
EU
Non-railway photos
Railway lines
70 338 1 150 80 120 Kismaros Ferencváros Kõbánya felsõ Budapest-Keleti Bánk Rétság Romhány BudaörsLocomotive classes: HGe 4/4 II, ABt8, RABe 511, 80-90
 Flick through the entire album


|
|
|
|
|
|
|

|

|
|
|
|
|
|
|
|
|
|
If you browse through the gallery pages, you're going to see the photos in order.


Copyright Takács Bence and friends, 2005-2022.